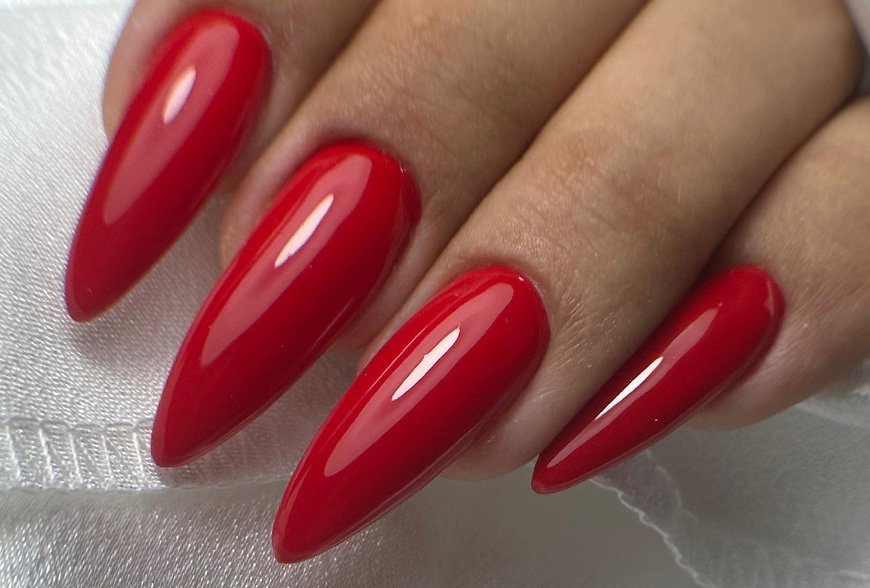
Diy Gel Nails A Step by Step Guide
Gel nails have become a popular choice for many individuals looking to achieve long-lasting, chip-free manicures. While getting gel nails done at a salon can be pricey, doing them yourself at home is not only cost-effective but also allows for creative customization. In this article, we’ll walk you through a step-by-step guide to achieving salon-worthy gel nails in the comfort of your own home.
Step 1: Gather Your Supplies
Before getting started, gather all the necessary supplies:
- Gel nail polish in your desired color(s)
- Base coat
- Topcoat
- UV or LED nail lamp
- Nail file and buffer
- Nail cleanser or rubbing alcohol
- Nail polish remover
- Cuticle pusher and trimmer (optional)
Step 2: Prep Your Nails
Start by removing any existing nail polish and shaping your nails with a file. Push back your cuticles gently using a cuticle pusher or orangewood stick. If needed, trim any excess cuticle carefully.
Step 3: Apply the Base Coat
Apply a thin layer of base coat to each nail, making sure to cap the free edge of the nail. This will help the gel polish adhere better and prevent chipping.
Step 4: Cure Under the Nail Lamp
Place your nails under a UV or LED nail lamp and cure the base coat according to the lamp’s instructions. Typically, this takes about 30-60 seconds for LED lamps and 2-3 minutes for UV lamps.
Step 5: Apply the First Coat of Gel Polish
Now it’s time to apply the first coat of gel nail polish. Start with a thin layer, ensuring even coverage from cuticle to tip. Avoid getting polish on your skin or cuticles, as this can cause lifting. Cure the first coat under the nail lamp.
Step 6: Apply the Second Coat (Optional)
For more intense color or coverage, apply a second coat of gel polish after curing the first coat. Again, cure the second coat under the nail lamp.
Step 7: Apply the Topcoat
Once the colored polish is cured, apply a thin layer of topcoat to seal in the color and add shine. Cure the topcoat under the nail lamp as well.
Step 8: Cleanse the Nails
After curing the topcoat, use a nail cleanser or rubbing alcohol on a lint-free wipe to cleanse the nails. This step removes any sticky residue left behind by the gel polish.
Step 9: Moisturize Your Hands
Finish off by moisturizing your hands and cuticles with a nourishing hand cream or oil. This helps keep your skin hydrated and healthy.
Tips for Success:
- Thin Layers: Always apply thin layers of gel polish and topcoat to prevent thickness and ensure proper curing.
- Avoid Skin Contact: Wipe off any gel polish that gets on your skin or cuticles before curing to prevent lifting.
- Proper Curing: Follow the recommended curing times for your specific nail lamp to ensure long-lasting results.
- Maintenance: To prolong your gel manicure, avoid harsh chemicals and use gloves when doing chores.
- Removal: When it’s time to remove your gel nails, soak them in acetone for about 10-15 minutes or use gel polish remover wraps for easier removal.
With these steps and tips, you can achieve salon-quality gel nails at home. Experiment with different colors and nail art techniques to express your style and creativity!

